


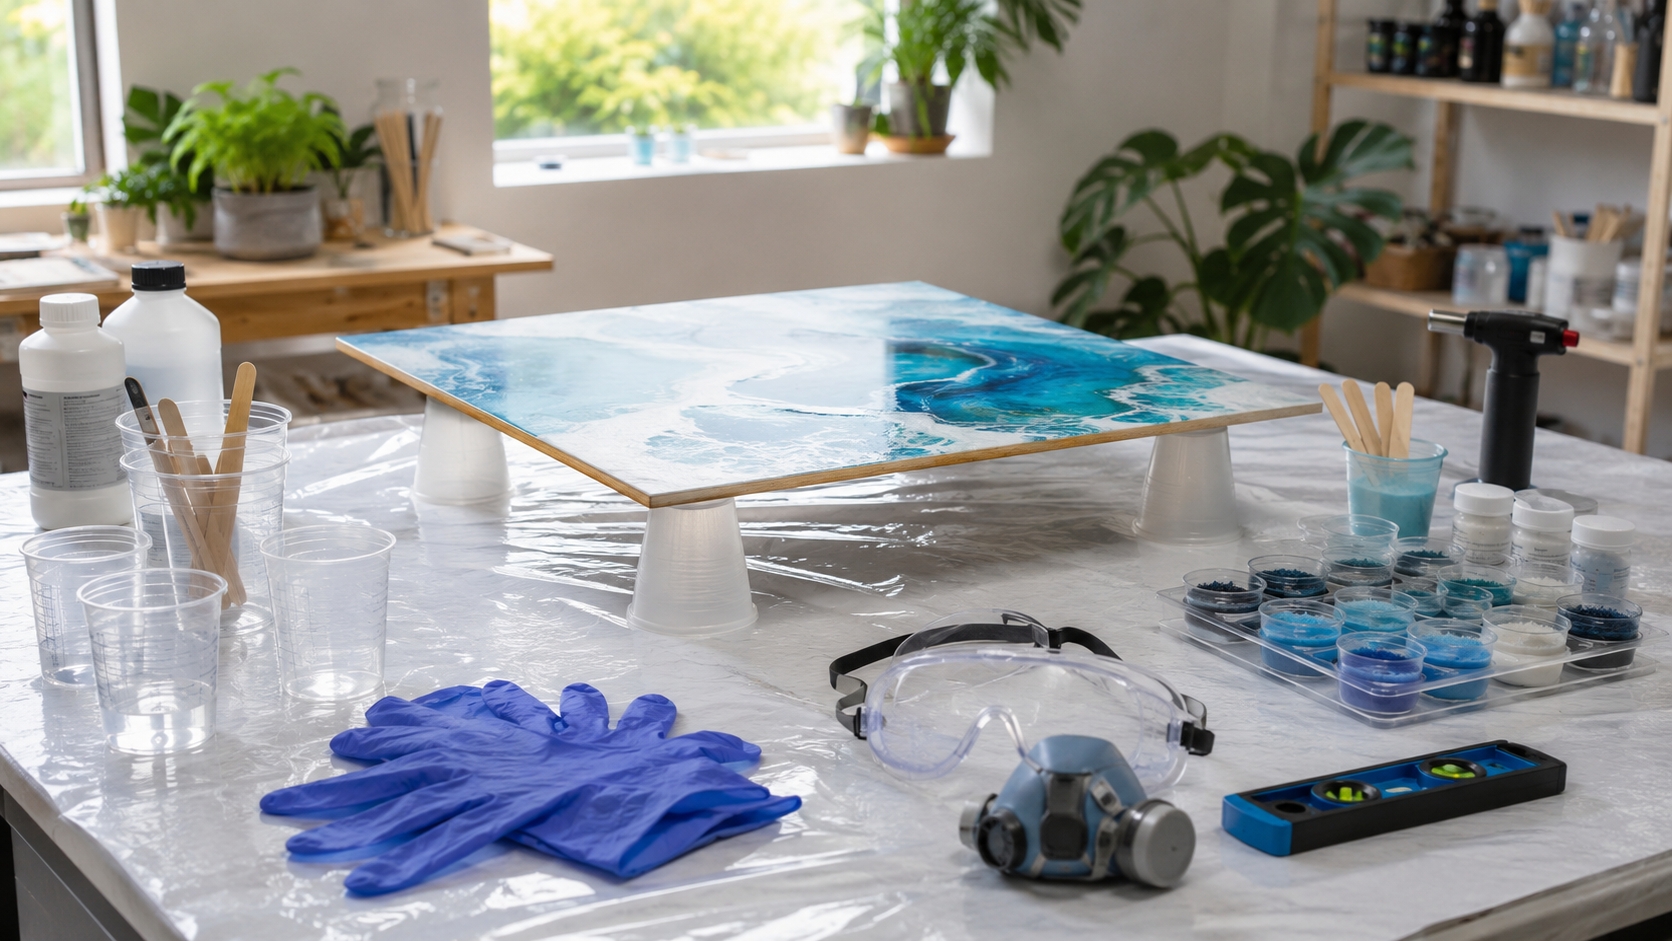
Resin paintings art can turn a simple wood panel into a glossy abstract artwork filled with flowing color, translucent layers, metallic details, and unexpected patterns.
It can also become a sticky, uneven mess remarkably quickly.
The difference is usually not artistic talent. It is preparation.
Epoxy resin has a limited working time after the resin and hardener are combined. Once mixing begins, there is little time to search for another cup, level the table, protect the floor, or decide which colors belong together.
A better first project begins with a small surface, a simple color palette, and a completely prepared work area.
The quick answer: To make resin art, select an epoxy formulated for artwork, prepare a rigid and level surface, measure the resin and hardener exactly as directed, mix thoroughly, divide and color the resin, pour it onto the surface, and allow it to cure undisturbed for the full time stated by the manufacturer.
What Is Resin Art?
Resin art generally uses a two-part epoxy system consisting of resin and hardener. When the components are combined in the correct ratio, a chemical reaction begins and the liquid gradually cures into a solid material.
Artists can tint the mixture with compatible pigments and use it to create:
- Abstract paintings
- Ocean-inspired designs
- Geode effects
- Decorative trays
- Coated artwork
- Jewelry and small cast pieces
- Embedded botanical or decorative objects
Not every epoxy product is intended for every project.
An art coating resin, deep-pour casting resin, adhesive epoxy, and garage-floor coating may all be described as epoxy, but their working times, recommended depths, clarity, viscosity, and intended uses can be very different.
For example, the product used for a thin resin painting should not automatically be treated as interchangeable with the coatings discussed in our guide to polyurea versus epoxy garage floors.
Choose a product specifically labeled for artwork or coating applications and read its technical instructions and Safety Data Sheet before opening the containers.
Start With a Small, Manageable Design
Large resin paintings require more material, faster decisions, and a larger perfectly level work surface.
For a first project, choose a small rigid panel rather than an oversized canvas. Stretched canvas may sag under the resin’s weight unless it has been supported and prepared appropriately.
Begin with two or three colors instead of attempting an elaborate geode, ocean, metallic marble, and floral design at the same time.
Easy beginner color combinations include:
- Navy, turquoise, and white
- Black, white, and metallic gold
- Blush, burgundy, and cream
- Forest green, sage, and pearl
- Sand, pale blue, and soft gray
One dominant color, one supporting color, and one accent usually create a more controlled result than six equally strong shades competing for attention.
Gather Everything Before Mixing
Resin begins curing after the two components are mixed, so arrange the entire workspace before starting.
Depending on the product and design, you may need:
- Epoxy resin and its matching hardener
- A rigid wood panel or another approved surface
- Resin-compatible pigments or colorants
- Graduated measuring cups
- Mixing cups
- Stir sticks
- Chemical-resistant gloves recommended by the product instructions
- Protective eyewear
- Protective clothing or an apron
- Plastic sheeting or disposable work-surface covering
- Painter’s tape
- A spirit level
- Small disposable cups for individual colors
- A clean cover to protect the curing artwork from dust
- Manufacturer-approved tools for moving resin or removing bubbles
Do not assume that ordinary acrylic paint, food coloring, or an unknown glitter product can be mixed into epoxy. Some additives contain water or other ingredients that may interfere with curing.
Use pigments and decorative materials identified as compatible with the resin system.
Make Safety Part of the Setup
Uncured resin and hardener should be handled carefully.
The National Institute for Occupational Safety and Health advises increasing ventilation and reducing skin exposure when working with epoxy resins. Repeated exposure may contribute to irritation or sensitization, which can cause a person to react to later exposure.
Before beginning:
- Work in an area with good airflow.
- Keep children and pets away from the work area.
- Read the product label and Safety Data Sheet.
- Wear the gloves and eye protection recommended for that product.
- Cover exposed skin where practical.
- Do not eat, drink, or smoke while handling resin.
- Keep the containers away from heat and direct sunlight.
- Prepare a clear route to a sink or washing area.
Do not make a blanket assumption that every resin project requires the same respirator, glove, or ventilation setup. Formulations differ. Follow the specific product’s Safety Data Sheet and manufacturer instructions.
If resin or hardener gets on the skin, follow the product’s first-aid directions and wash promptly with soap and water. Do not use vinegar, acetone, alcohol, or another solvent to clean epoxy from skin unless directed by a medical professional. NIOSH guidance warns that solvents can damage the skin barrier and increase exposure.
For eye contact, rinse as directed by the Safety Data Sheet and seek appropriate medical advice.
Prepare and Level the Painting Surface
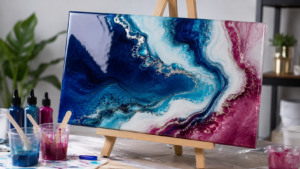
Resin naturally moves toward the lowest point. Even a slight tilt can cause most of the design to collect along one edge while the opposite side becomes thin or exposed.
Cover the table and surrounding floor before placing the artwork down. Resin is much easier to contain before a spill than remove after it cures.
Resin paintings the panel on four sturdy, equal-height supports so excess resin can drip past the edges without bonding the artwork to the table covering.
Use a spirit level in both directions:
- From left to right
- From front to back
Adjust the supports until the surface is completely level.
Painter’s tape can be added to the underside of the panel to make cured drips easier to remove. Decide whether you want the resin to flow over the sides or whether you prefer cleaner painted edges.
The surface should also be clean, dry, and free from dust, grease, loose paint, or debris.
Measure the Resin and Hardener Exactly
Resin systems use specific mixing ratios. A product may require equal volumes, a ratio by weight, or another measurement entirely.
Do not guess, switch measuring methods, or add extra hardener in an attempt to make the resin cure faster.
Follow the manufacturer’s directions for:
- Mixing ratio
- Minimum and maximum pour depth
- Mixing time
- Working or pot life
- Recommended room temperature
- Cure time
- Maximum batch size
Measure carefully in clean containers. Scrape the sides and bottom while mixing, but avoid whipping the mixture aggressively and introducing unnecessary air.
Some artists transfer the mixed resin into a second clean cup and mix again to reduce the chance of leaving unmixed material along the first container’s walls. Use this method only when it fits within the product’s working time.
Mix only the quantity needed for the panel. Large masses of mixed epoxy can generate substantial heat as they react, so do not leave an oversized batch sitting in a deep cup. Product safety sheets warn that an exothermic reaction in a large mass can produce damaging heat and fumes.
Divide and Color the Resin
Once the clear resin has been mixed correctly, divide it among smaller cups for coloring.
Add resin-compatible pigment gradually. More colorant is not always better. Excess additive may affect the cure, opacity, or flow.
Keep at least one portion lighter or more translucent to prevent the entire painting from becoming visually heavy.
You can create depth by combining:
- Transparent and opaque colors
- Pearl and matte pigments
- Light and dark versions of one color
- A restrained metallic accent
- Clear resin between stronger colors
Before pouring, decide roughly where each color will go. Resin paintings will continue moving after it reaches the panel, so the final pattern will not remain exactly where it was first placed.
That unpredictability is part of the appeal, but a basic plan helps prevent the design from becoming muddy.
Pour the Resin With Restraint
Begin with the dominant color and add smaller amounts of the supporting shades. You can pour in lines, pools, arcs, or irregular bands depending on the intended effect.
Move the resin gently with a suitable tool, by carefully tilting the panel, or by following the manipulation method recommended for the product.
Avoid overworking it.
Repeatedly dragging colors through one another can turn clean blue, white, and gold into a dull gray-green mixture. Stop while the colors still have separation and movement.
If bubbles appear, use the method approved by the resin manufacturer. This may involve briefly passing an appropriate warm-air tool over the surface, misting with an approved product, or removing individual bubbles manually.
Avoid introducing an open flame unless the resin manufacturer specifically permits that method and you can follow all fire-safety instructions. Heat can also damage pigments, scorch the surface, or cause resin to move too aggressively.
Protect the Artwork While It Cures
Move the artwork only if absolutely necessary. Ideally, it should already be in the location where it will cure.
Place a clean, raised cover over the piece to protect it from:
- Dust
- Pet hair
- Flying insects
- Loose fibers
- Accidental contact
The cover must not touch the resin or restrict ventilation required by the product.
Leave the artwork undisturbed for the full curing period. A surface may feel firm before the material has reached its complete cure.
Do not hang, package, sand, polish, or place objects on the artwork until the manufacturer says it is ready.
Do Not Assume Every Cured Resin Is Food-Safe
The original version of this article described cured resin as broadly food-safe. That is too general.
Food-contact suitability depends on the exact formulation, intended application, curing process, and manufacturer’s supporting information. The FDA evaluates food-contact substances for specific uses and conditions rather than declaring every epoxy product suitable for contact with food.
Unless the product specifically states that it is suitable for the intended food-contact use when measured, mixed, and cured according to its directions, keep it away from direct food contact.
A decorative resin painting does not need to serve as a cutting board, serving tray, or food-preparation surface.
Common Beginner Resin-Art Mistakes
Many disappointing projects can be traced to a few avoidable problems.
Measuring by Eye
An incorrect resin-to-hardener ratio may result in soft, sticky, cloudy, or unevenly cured areas.
Working on an Uneven Table
The entire design may drift to one side during curing.
Mixing Too Much at Once
A large batch can heat rapidly and reduce the available working time.
Choosing Incompatible Colorants
Water, excess paint, or unsuitable additives may interfere with curing.
Starting Without a Plan
Searching for tools after mixing wastes the limited pot life.
Overworking the Pattern
Too much movement blends distinct colors into a muddy result.
Leaving the Piece Uncovered
Dust and hair can become permanent parts of the artwork.
Sanding Too Soon
Partially cured resin may clog abrasives and expose the user to unnecessary dust or uncured material. When sanding fully cured epoxy, control dust and follow the product’s protective-equipment instructions. NIOSH recommends ventilation and suitable protection during sanding and finishing work.
Display Resin Art Without Overwhelming the Room
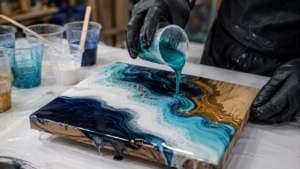
Resin paintings artwork naturally attracts attention because of its shine, color, and depth. It usually works best as a focal point rather than one more glossy object in an already busy room.
Consider displaying it:
- Above a console table
- Over a fireplace
- In an entryway
- Behind a dining table
- In a home office
- Against a simple painted wall
- As part of a restrained gallery arrangement
Pull one or two colors from the artwork into nearby pillows, accessories, or textiles rather than matching the entire room to the painting.
Resin paintings art can be an affordable way to introduce personal color into a room, especially when combined with the practical ideas in Affordable Ways to Refresh Your Home Without Renovating.
Renters can display smaller resin panels using appropriate removable hanging systems where permitted. Our guide to renter-friendly home improvements includes more ways to personalize a space without making major permanent changes.
The Your Home Design Center Take: Preparation Is the Real Technique
The most impressive resin paintings may look spontaneous, but successful work is rarely improvised from beginning to end.
Before mixing, confirm:
- The resin paintings is intended for artwork
- You have read the label and Safety Data Sheet
- The workspace has suitable ventilation
- Skin and eye protection are ready
- The panel is rigid, clean, and level
- Every tool is within reach
- The pigments are resin-compatible
- The mixing ratio is understood
- The working and curing times are clear
- The curing artwork can remain covered and undisturbed
Begin small, limit the color palette, and resist the urge to keep manipulating the design.
Resin paintings will create some movement on its own. Your job is to prepare the conditions, guide the color, and know when to stop.
When safety, measurement, and workspace preparation come first, resin art becomes far less intimidating—and your first painting has a much better chance of becoming something you will actually want to hang.
Here are some other articles related to your search: